Thank you for your patience while we retrieve your images.
Vern Dewit Photography
Trip Photos
▼
Trip Photos
▼
All Trips
Recent Trips
Canoe Trips
Assiniboine Park
Banff National Park
Castle Provincial Park
Crowsnest Pass
David Thompson Country
East Kootenay
Elk Valley (BC)
Ghost Wilderness
Height of the Rockies
Jasper National Park
Kananaskis Country
Kokanee
Kootenay Land District
Kootenay National Park
Robson Provincial Park
Waterton National Park
Yoho National Park
Galleries
Purchase Photos
Search
explor8ion
Contact
Home
»
Trip Photographs
»
Kananaskis Country
»
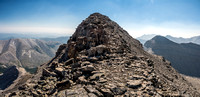
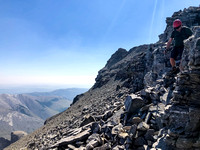
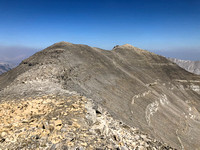
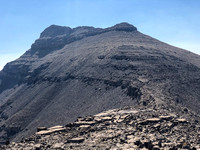
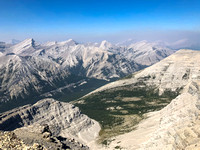
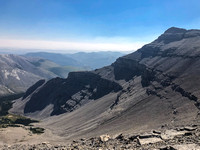
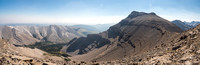
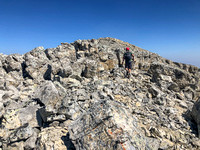
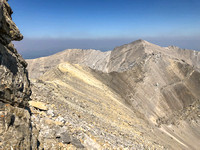
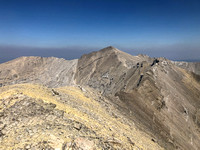
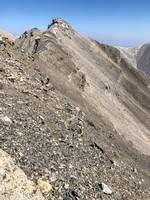
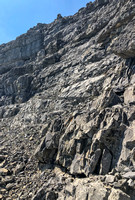
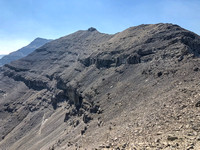
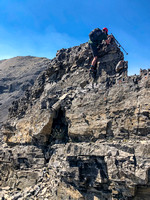
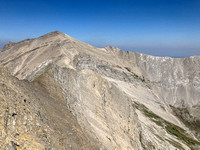
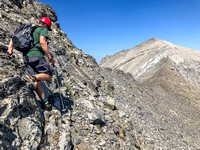
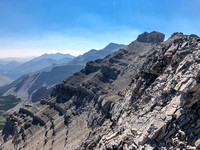
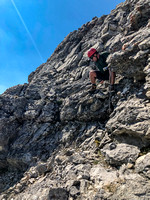
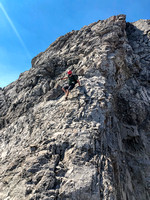
Junction Mountain
© Vern Dewit Photography